Whipped cream is about as low-effort as kitchen work gets. You need time and heavy cream, and that's about it. Grab an electric mixer, a whisk, or a mason jar if you're feeling stubborn. The hard part isn't the equipment. It's knowing when to stop.
That's the real skill here, and it applies well beyond dessert. Stop too early and you've got a soupy topping. Keep going and you're churning out sweet butter. Light, silky, soft-peaked whip suits a dessert like Strawberry Eton Mess or a Triple Chocolate Mousse Cake. A showier build, like the Berries and Cream Mille-Feuille, needs sturdier peaks that hold their shape under weight.
What you need to make whipped cream
Cold heavy cream, a large bowl, and a whisk. That's the core kit. A handheld mixer works too, and so does a mason jar you shake by hand, which takes more arm strength than most people expect.
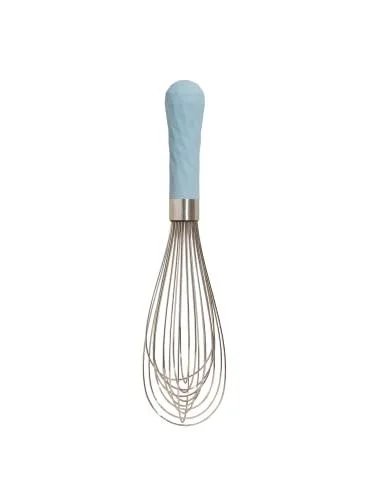
If you're going the bowl-and-whisk route, don't skimp on either tool. Cream roughly doubles in volume as it whips, so the bowl should hold three to four times the liquid you start with. A cramped bowl means cream on the counter. Pick a large balloon whisk over a narrow sauce whisk, because the wider, airier loops pull in far more air.

A decent balloon whisk is one of the cheapest upgrades you can make. The GIR 11-inch model, for example, runs about $13 on Amazon right now, down from $18. Check the listing and you'll see it's a basic tool, not a gadget.
Shopping for the cream is where people get sloppy. Heavy cream and heavy whipping cream both contain at least 36% milk fat, and the two are interchangeable here. Anything labeled plain "whipping cream" or, worse, "light cream" has less fat, and that fat is what gives whipped cream its loft. Skip those. They collapse faster and won't hold up on a dessert.
How to make whipped cream
For a basic batch, start with 1 cup cold heavy cream. That yields about 2 cups of whipped cream. Want it lightly sweetened? Add 1 Tbsp. powdered sugar. For vanilla, stir in ½ tsp. vanilla extract or paste.
Once your equipment and ingredients are ready, the process is five steps. The rest is feel.
- Use a bigger bowl than you think you need. Cream roughly doubles in volume and will slosh over the edge of a small bowl faster than you'd like.
- Keep everything cold. You could start with room-temperature gear, but chilling the bowl and whisk or beaters in the freezer for 10 to 15 minutes helps the cream come together faster. Use cream straight from the fridge.
- Add sugar and flavorings first. Put any sugar, vanilla, or simple flavoring in the cream before you whip. The sugar has time to dissolve, and everything gets distributed evenly.
- Start whisking. Work vigorously, moving around the bowl and lifting the cream as you go. A side-to-side motion beats circles. You're on track when the whisk starts leaving trails.
- Stop at the texture you want. Soft, medium, and stiff peaks each have a job, and we'll get to them below.
How much sugar should you add?
Whipped cream usually shows up next to dessert, so you may not need any sugar at all. Bon Appétit tends to serve it unsweetened alongside a Bourbon Caramel Apple Pie or a Diner-Style Rice Pudding, where the sweetness already lives in the dish.
There's no rule that says you have to follow that, though. Plenty of people want sweetened cream every time, and it makes sense next to something tart. Think blackberries with torn mint, for instance, where a little extra sweetness in the cream keeps things balanced.
For a lightly sweet result, start with about 1 Tbsp. sugar per cup of cream. Powdered sugar is the easier pick. It dissolves quickly and contains a bit of stabilizer, usually cornstarch, which gives the whip a little extra staying power. Granulated sugar tastes cleaner to some cooks, but it takes longer to dissolve. Either way, add it before you start whipping, not after.
How to flavor whipped cream
Looking at a bowl of fluffy cream and wondering whether it could be more interesting? It can. You have two main routes: infuse the cream ahead of time, or stir flavorings in.
Infusing takes planning, and it's where the real flavor comes from. Steep ingredients like rice, for a creamy Horchata, or bourbon, for a classic pumpkin pie topping, in the cream and refrigerate it anywhere from three hours to overnight. Strain out the solids before you whip.
Stirring is faster. Vanilla extract, a small splash of liqueur, cocoa, ground spices, citrus zest, or coffee syrup can all go in before you start whipping. Heavier mix-ins such as toasted nuts or chopped chocolate are different. Fold them in with a rubber spatula once the cream is already whipped, or they'll weigh it down and deflate the air you just built.
Soft peaks vs. stiff peaks
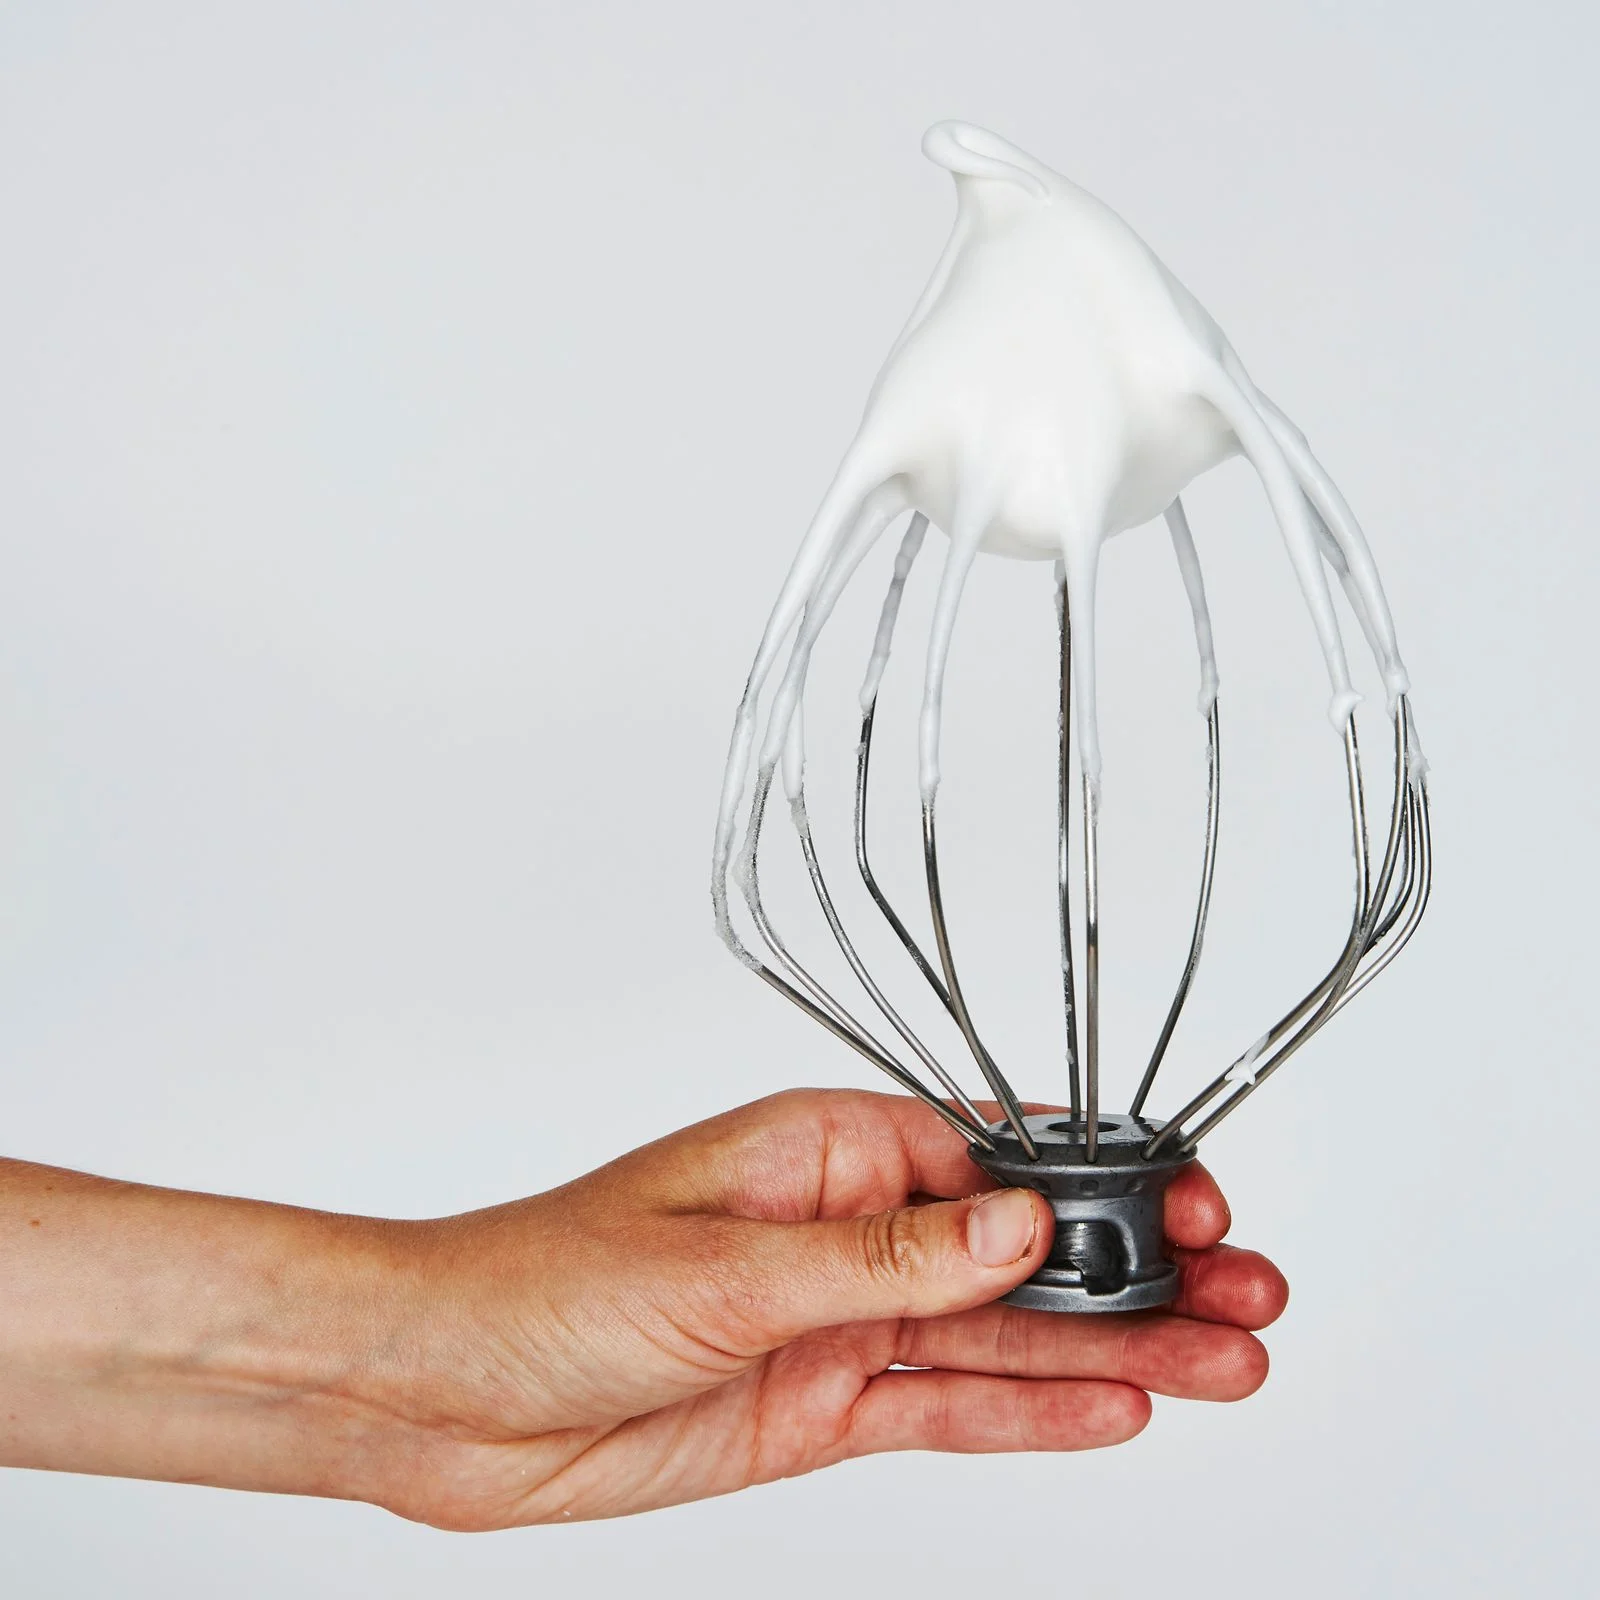
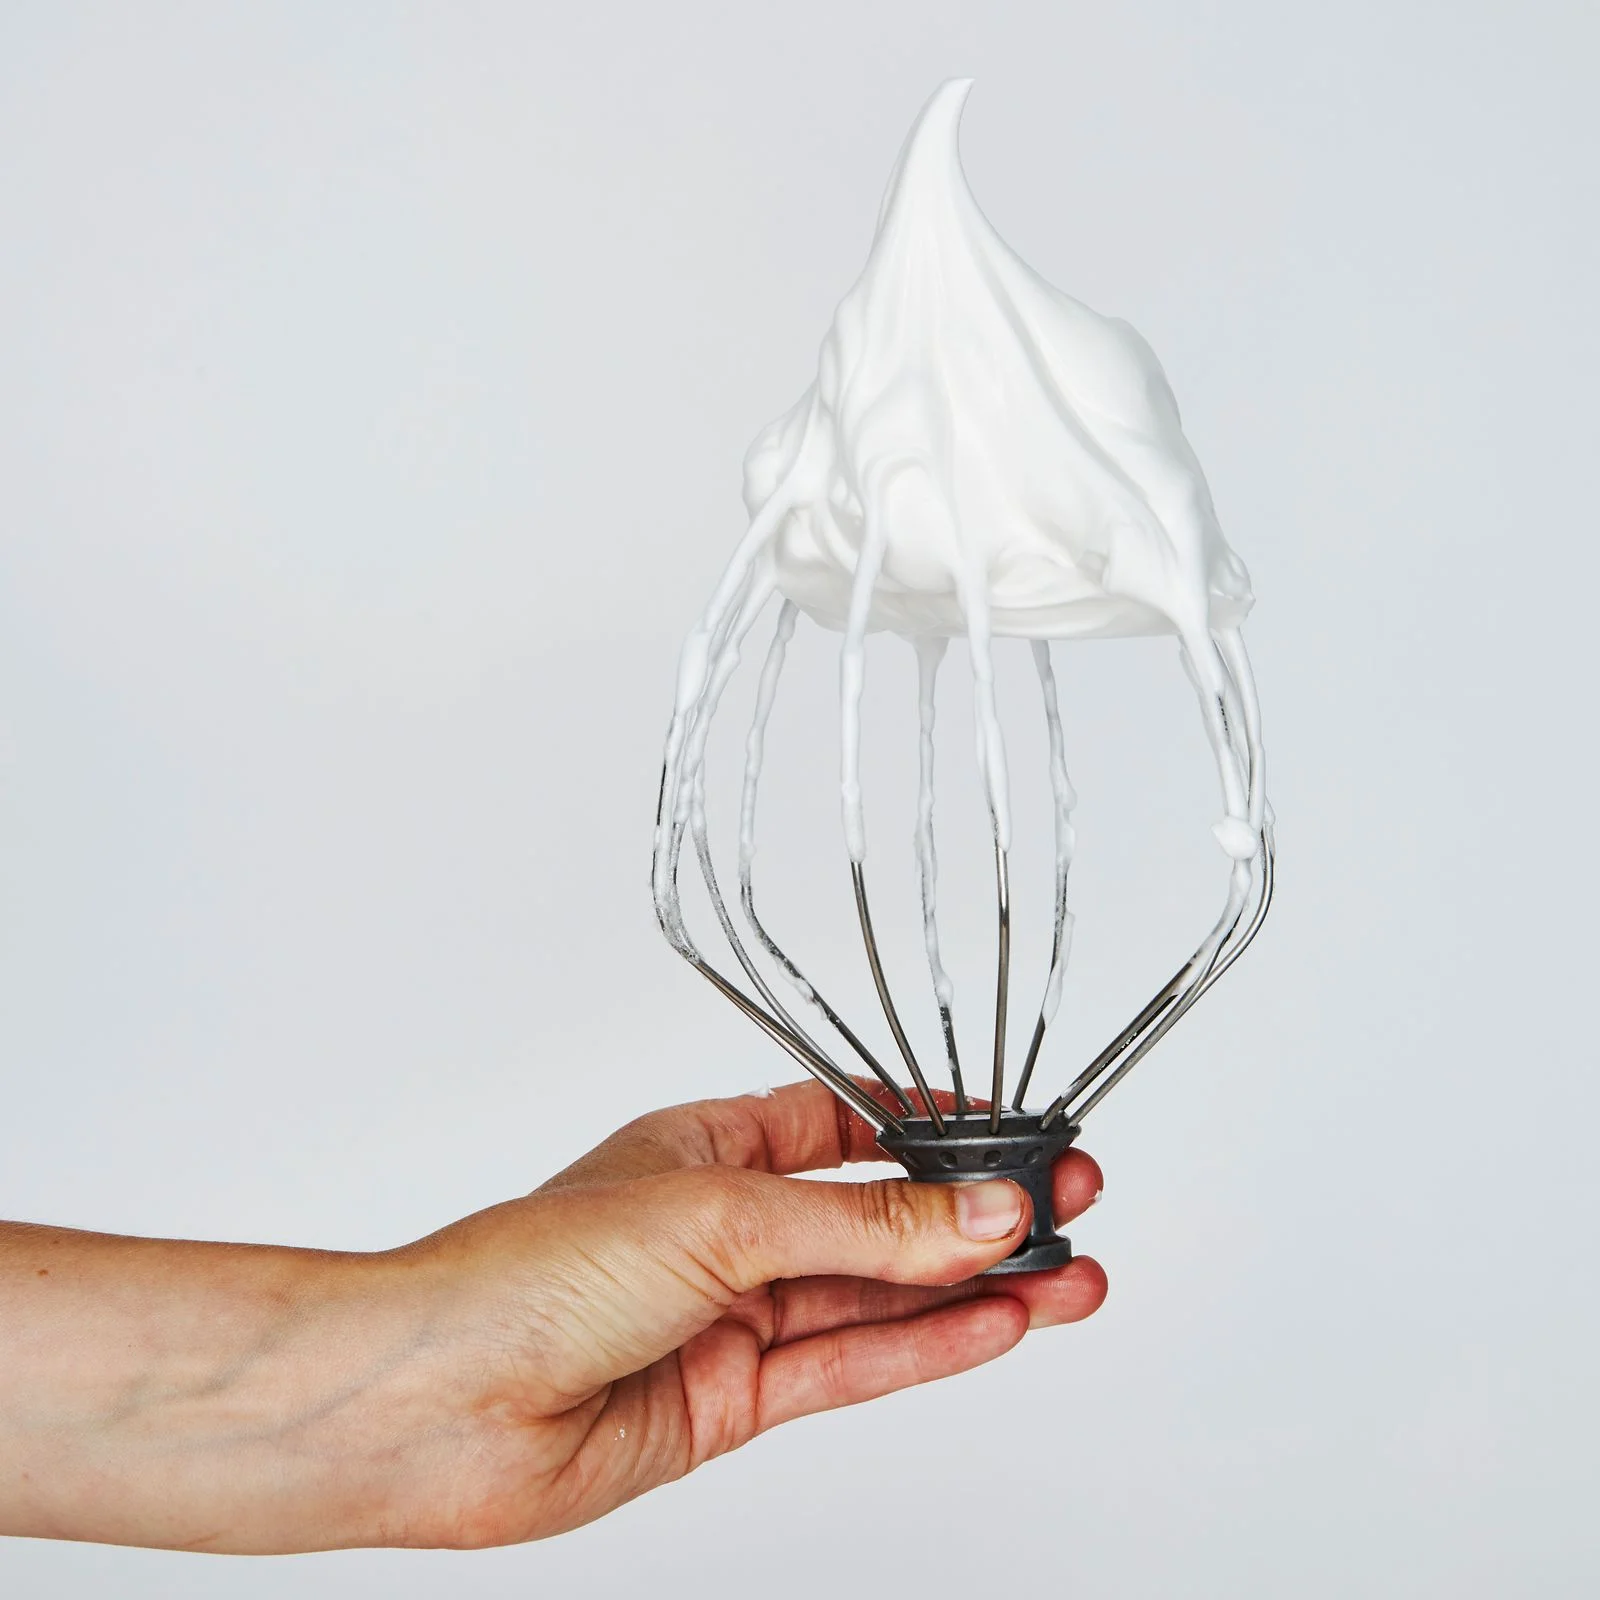
Peaks are the shape the cream holds when you lift the whisk out and hold it upright, like a torch. Soft peaks are cloudlike and slump over the moment you lift. Stiff peaks stand tall and keep their shape. Medium peaks sit between the two, with enough structure to hold a form while staying soft and supple.
Most of the time, you want soft peaks. Bon Appétit's Mix-and-Match Fools call for that texture, and it's the go-to for dolloping onto pecan pie. Soft peaks melt into the filling instead of sitting on top like a hat.
Structure matters for other desserts, though. Medium peaks keep a Ginger-Raspberry Icebox Cake from sliding apart. And classic chocolate mousse uses both extremes in one recipe. Stiff cream gets folded into the chocolate for body, while a softer batch goes on top as the finish.
How to make whipped cream without a mixer
You don't need a stand mixer, or even a handheld one, to get there. There's more than one way to whip.
Pick your tool, then pick your pace
By hand is still the method I'd choose if I had the time. It's the slowest route and the most work for your arm, but you control the finish. Here's the thing: even if a mixer gets the cream going, switch to a whisk for the last stretch. That's when you can stop exactly where you want, instead of overshooting into something stiffer than you planned. No whisk and no mixer? You can still do it. Chill a container with a tight-fitting lid, like a large mason jar or a leak-proof cocktail shaker, in the freezer for five minutes. Keep the heavy cream very cold and leave plenty of empty space inside. About one cup of liquid in a four-cup container works well. Seal it and shake with confidence. Steady, assertive motion beats short bursts of force, which tend to leave you with uneven results. When the liquid stops sloshing and starts sounding heavier, open the lid and take a look. Still runny? Close it up and keep going.Making whipped cream ahead
Meal preppers, this one's for you. You can whip cream hours before dinner, but stop short of done. Underwhip it during prep, cover it, and refrigerate for up to four hours. Right before serving, give it a few brisk whisks to bring back its bounce. Freezing is an option too, and yes, really. It takes more effort. Line a baking sheet with parchment and pipe or scoop spoonfuls onto it. Freeze until the nuggets are solid, peel them off, and store them in an airtight bag for one to two months. When it's time to serve, let them thaw at room temperature for about 15 minutes.How to stabilize whipped cream
If the cream has to last through a long dinner or sit on a dessert for hours, you'll want backup. Instant vanilla pudding mix is one of our favorite shortcuts. For every cup of heavy cream, add **1 Tbsp. instant vanilla pudding mix** (call it pastry cream powder if anyone gives you grief) and **2 tsp. powdered sugar**, then whip as usual. The modified starch absorbs excess moisture and keeps the cream from separating, so it stays fluffy for up to 24 hours.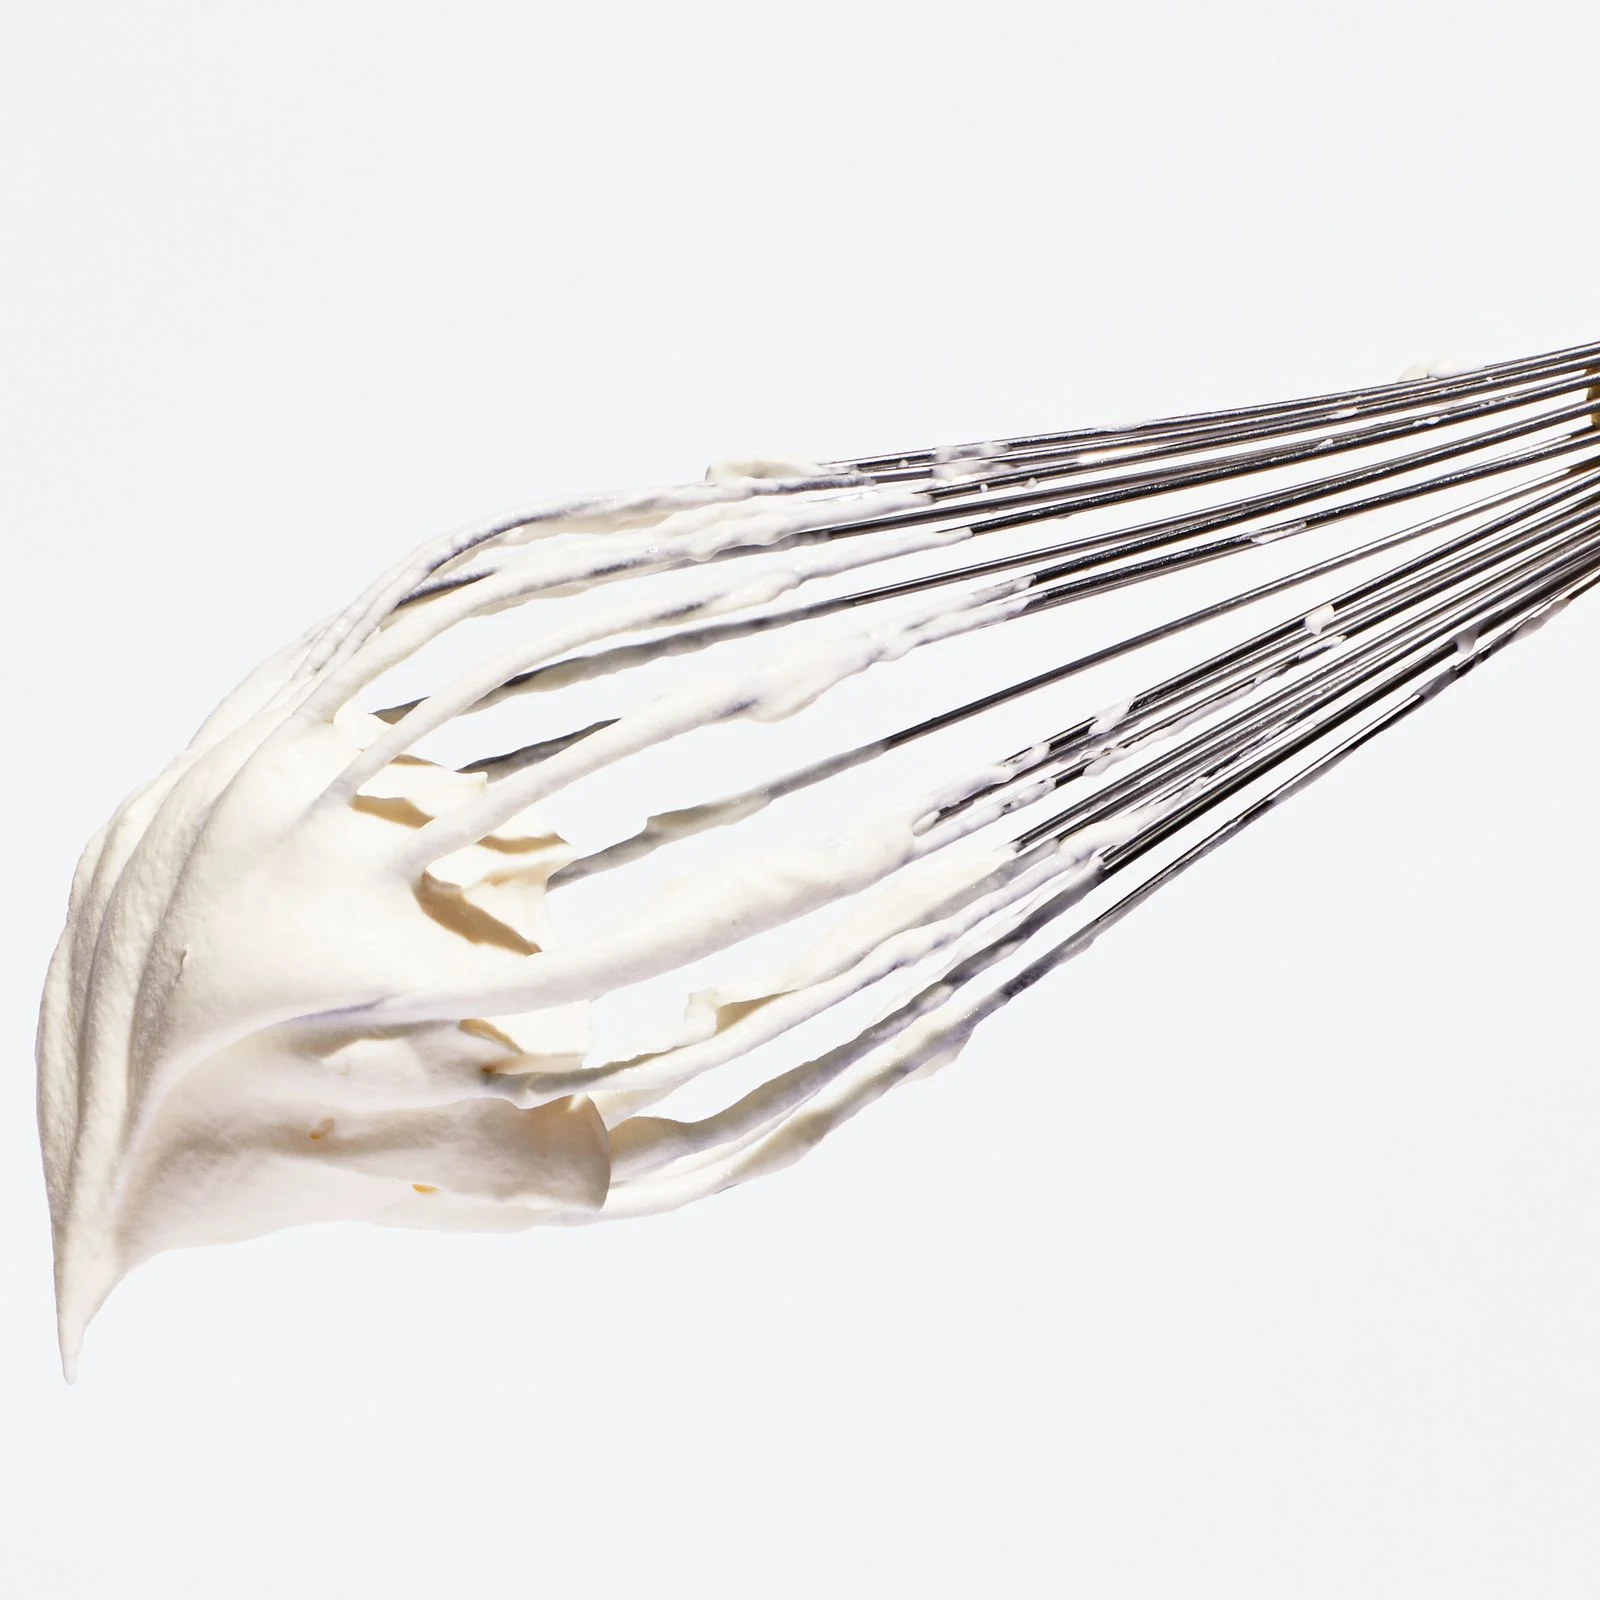
Fixing whipped cream that goes sideways
Whipped cream misbehaves, but the fixes are usually simple.