Blind baking is less about following one fixed timetable than matching the crust’s color to what comes next. A shell for a pie that will keep baking should stay relatively pale; one destined for a no-bake filling needs to be fully cooked before it leaves the oven. Get that judgment wrong and you risk a soft, underdone base—or edges that darken before the filling is ready.
When to blind-bake a pie crust
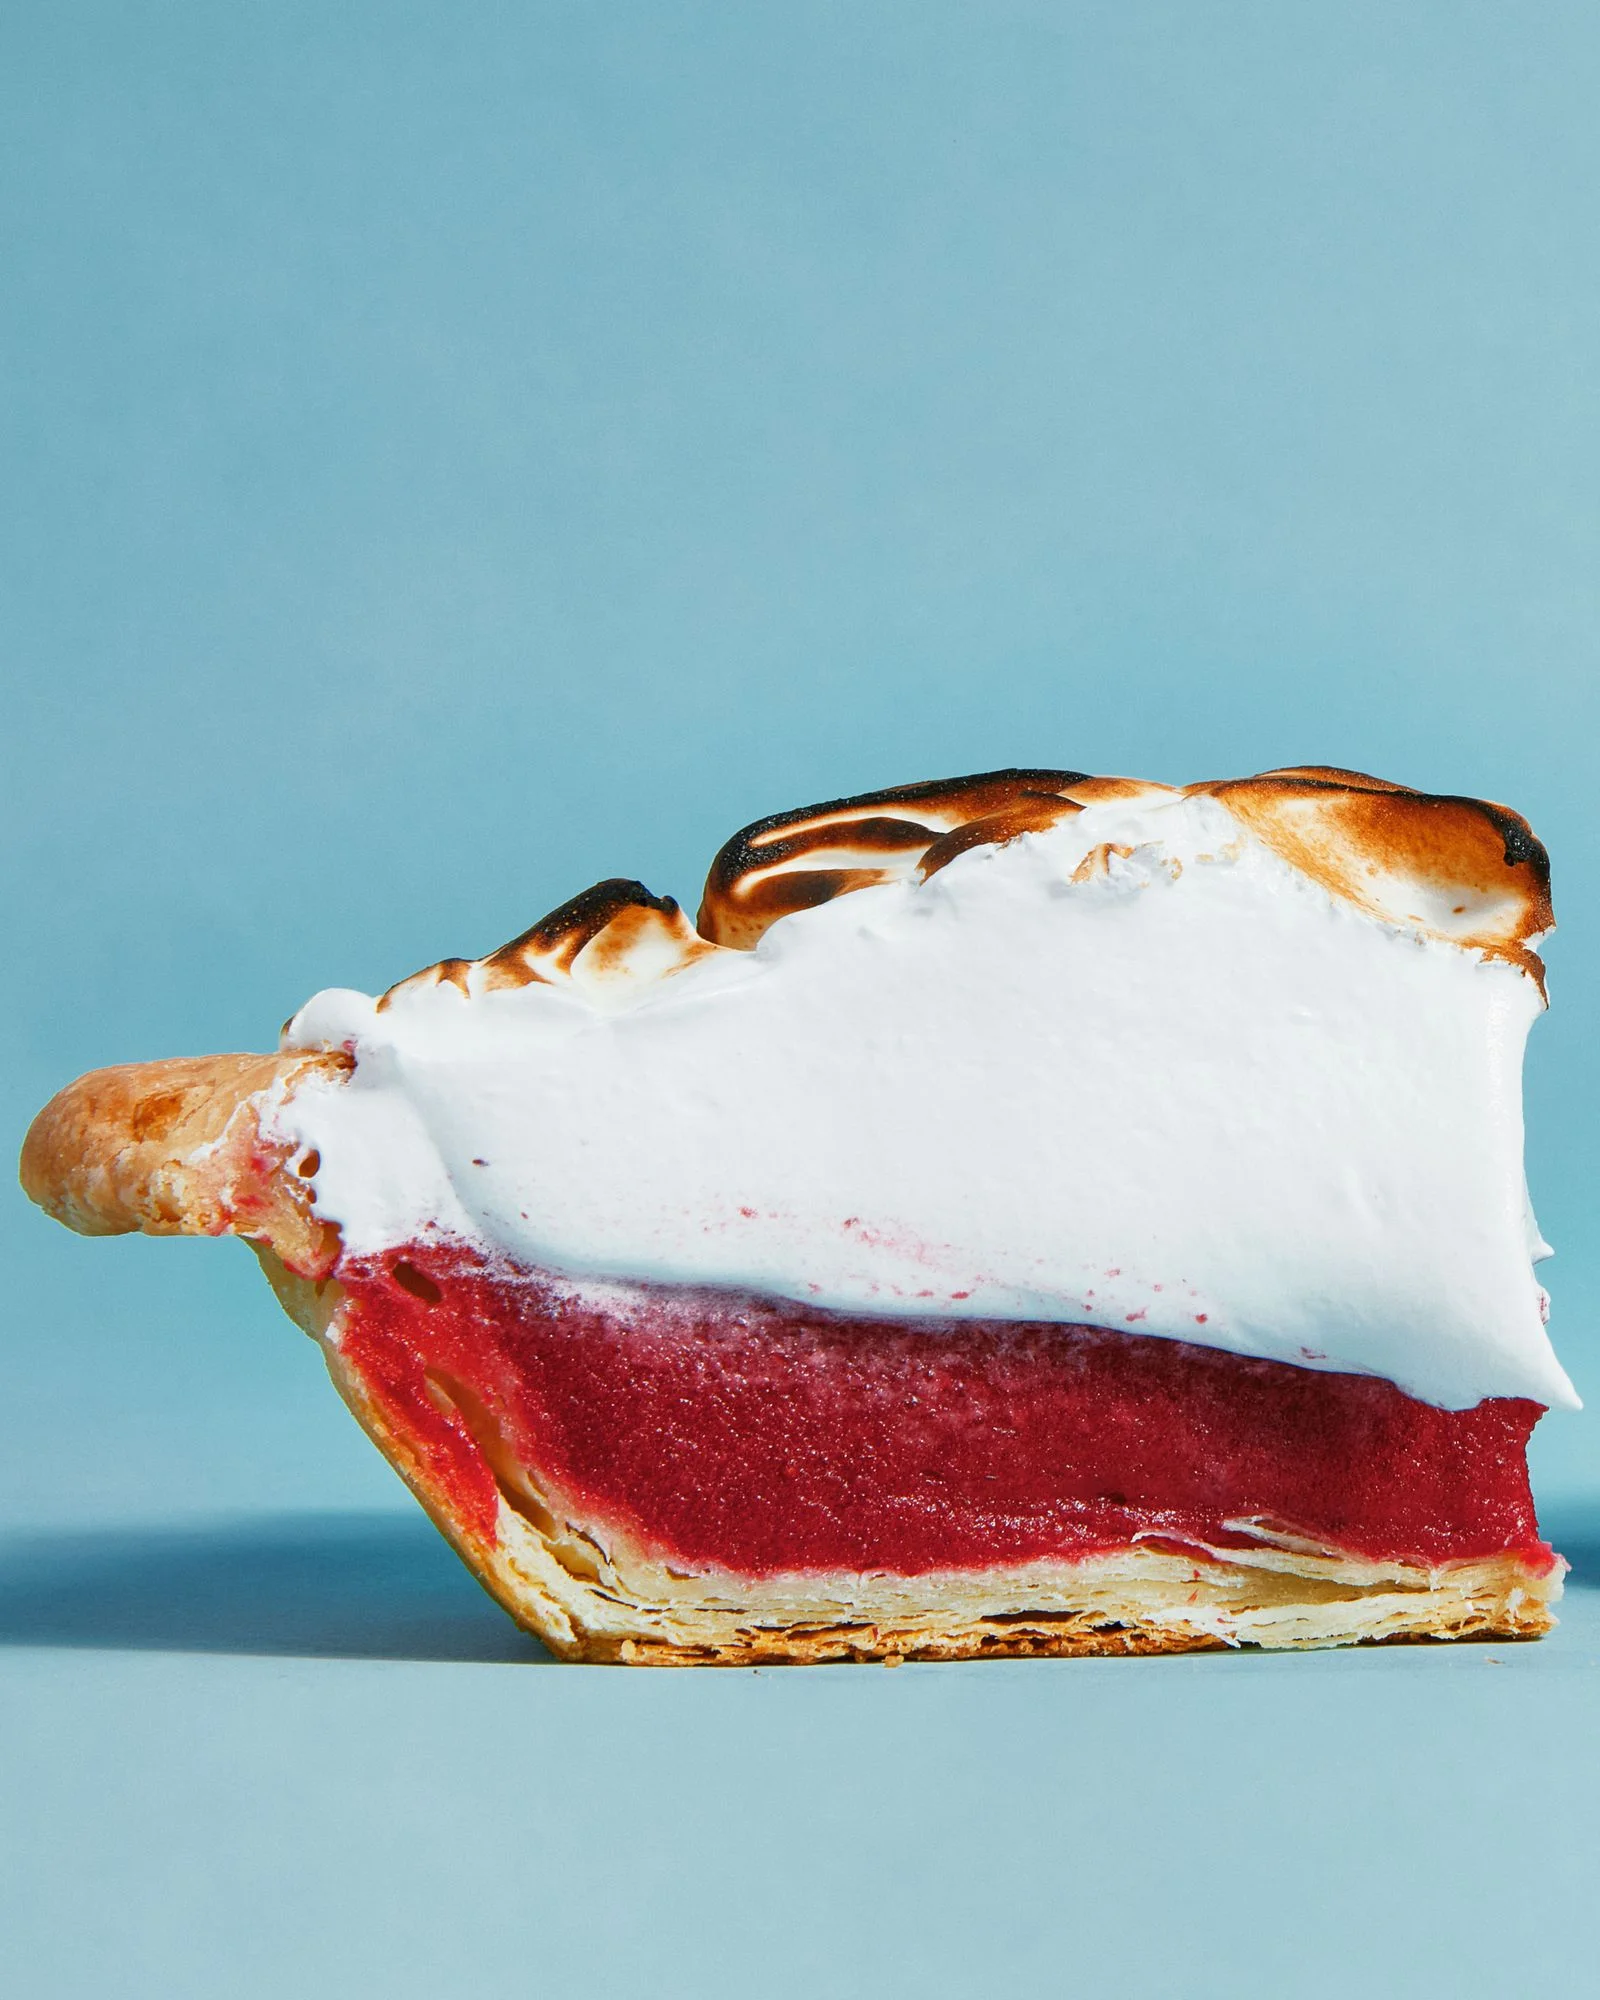
Blind baking gives pastry a head start when its filling needs less oven time. That’s why custard pies such as pumpkin pie often use a partially baked shell: the crust can cook through while the filling sets. For a filling that won’t go back in the oven, the shell must be fully baked first, as with chocolate pudding pie and cranberry curd pie.
Most fruit pies bake long enough for the pastry and filling to finish together. Some single-crust pies topped with crumble are exceptions. Peach-Blueberry Pie, for instance, calls for a fully blind-baked shell. Recipe instructions matter here; “fruit pie” alone doesn’t tell you how far to bake the crust.
Set up the shell to hold its shape
Begin with good pie dough. Roll it out, fit it into the pie plate, crimp the rim, then chill the shaped shell for at least 15 minutes. Cold dough is less likely to shrink or slump in the oven.
Line the crust with parchment and fill it with weights. Crumpling and reopening the paper helps it sit close against the pastry. The weights support the bottom and sides as they bake; without them, the base can puff and the sides can collapse. Crumple the parchment first to make it easier to fit.
Choosing pie weights
Ceramic weights are easy to find, but dried beans, rice, and stainless-steel ball bearings also work. I like ball bearings because they settle into the corners and hold the dough firmly. There’s a reasonable counterargument: Bon Appétit Test Kitchen editors Jesse Szewczyk and Rebecca Firkser prefer lighter materials, saying heavy metal weights can compress the dough and limit the expansion that helps create flaky layers. Szewczyk uses beans or rice; Firkser favors chickpeas or granulated sugar, a method associated with baking expert Stella Parks.
Whichever weight you choose, fill the shell generously and support the sides up to the rim. Keep the weights in place until the pastry looks dry and set and the parchment lifts away easily. Taking them out too early can leave the sides unsupported.
A basic blind-baking method
This method uses Perfect Pie Crust dough to make one 9-inch shell. It yields an evenly golden crust; use the pie recipe’s directions if it calls for a paler or darker result.
Ingredients
- 1 disk chilled Perfect Pie Crust dough
- All-purpose flour, for dusting
- Pie weights, dried beans, or rice
Preparation
- Take the dough from the refrigerator and let it soften for about 5 minutes, just until pliable. On a lightly floured surface, roll it into a 12-inch round about ⅛ inch thick. Brush away excess flour and transfer it to a 9-inch pie plate, preferably metal. Ease the dough into the plate without stretching it. Trim to leave about a 1-inch overhang, fold the edge under, press to seal, and crimp. Chill for 15 minutes.
- Place a rack in the lower third of the oven and heat it to 375°F. Put the pie plate on a parchment-lined rimmed baking sheet. Crumple two sheets of parchment, unfold them, and line the shell. Fill the parchment to the edges with pie weights, beans, or rice.
- Bake for about 30–35 minutes, until the edges are golden and the bottom looks set and opaque. Carefully lift the parchment to check. Remove the shell, lower the oven to 325°F, then lift out the parchment and weights.
- Return the shell to the oven for 12–18 minutes, until the bottom and sides are evenly golden. If the pie will bake again, follow its recipe for the right stopping point. For a no-bake filling, bake the shell fully.
Some recipes ask you to dock the dough by pricking its bottom and sides with a fork. That lets steam escape and can reduce uneven puffing, but it doesn’t replace pie weights. Follow the recipe; docking isn’t required for every shell.
Make ahead: A fully baked shell can be prepared up to two days ahead. Let it cool completely, wrap it well, and keep it at room temperature until you’re ready to fill it.
How browned should the crust be?
There’s no single target. Oven temperatures and pie plates vary, and the filling determines how much more baking the pastry will get. Use the timing as a guide, then judge the shell by its color and texture.
Pale: for pies that will keep baking
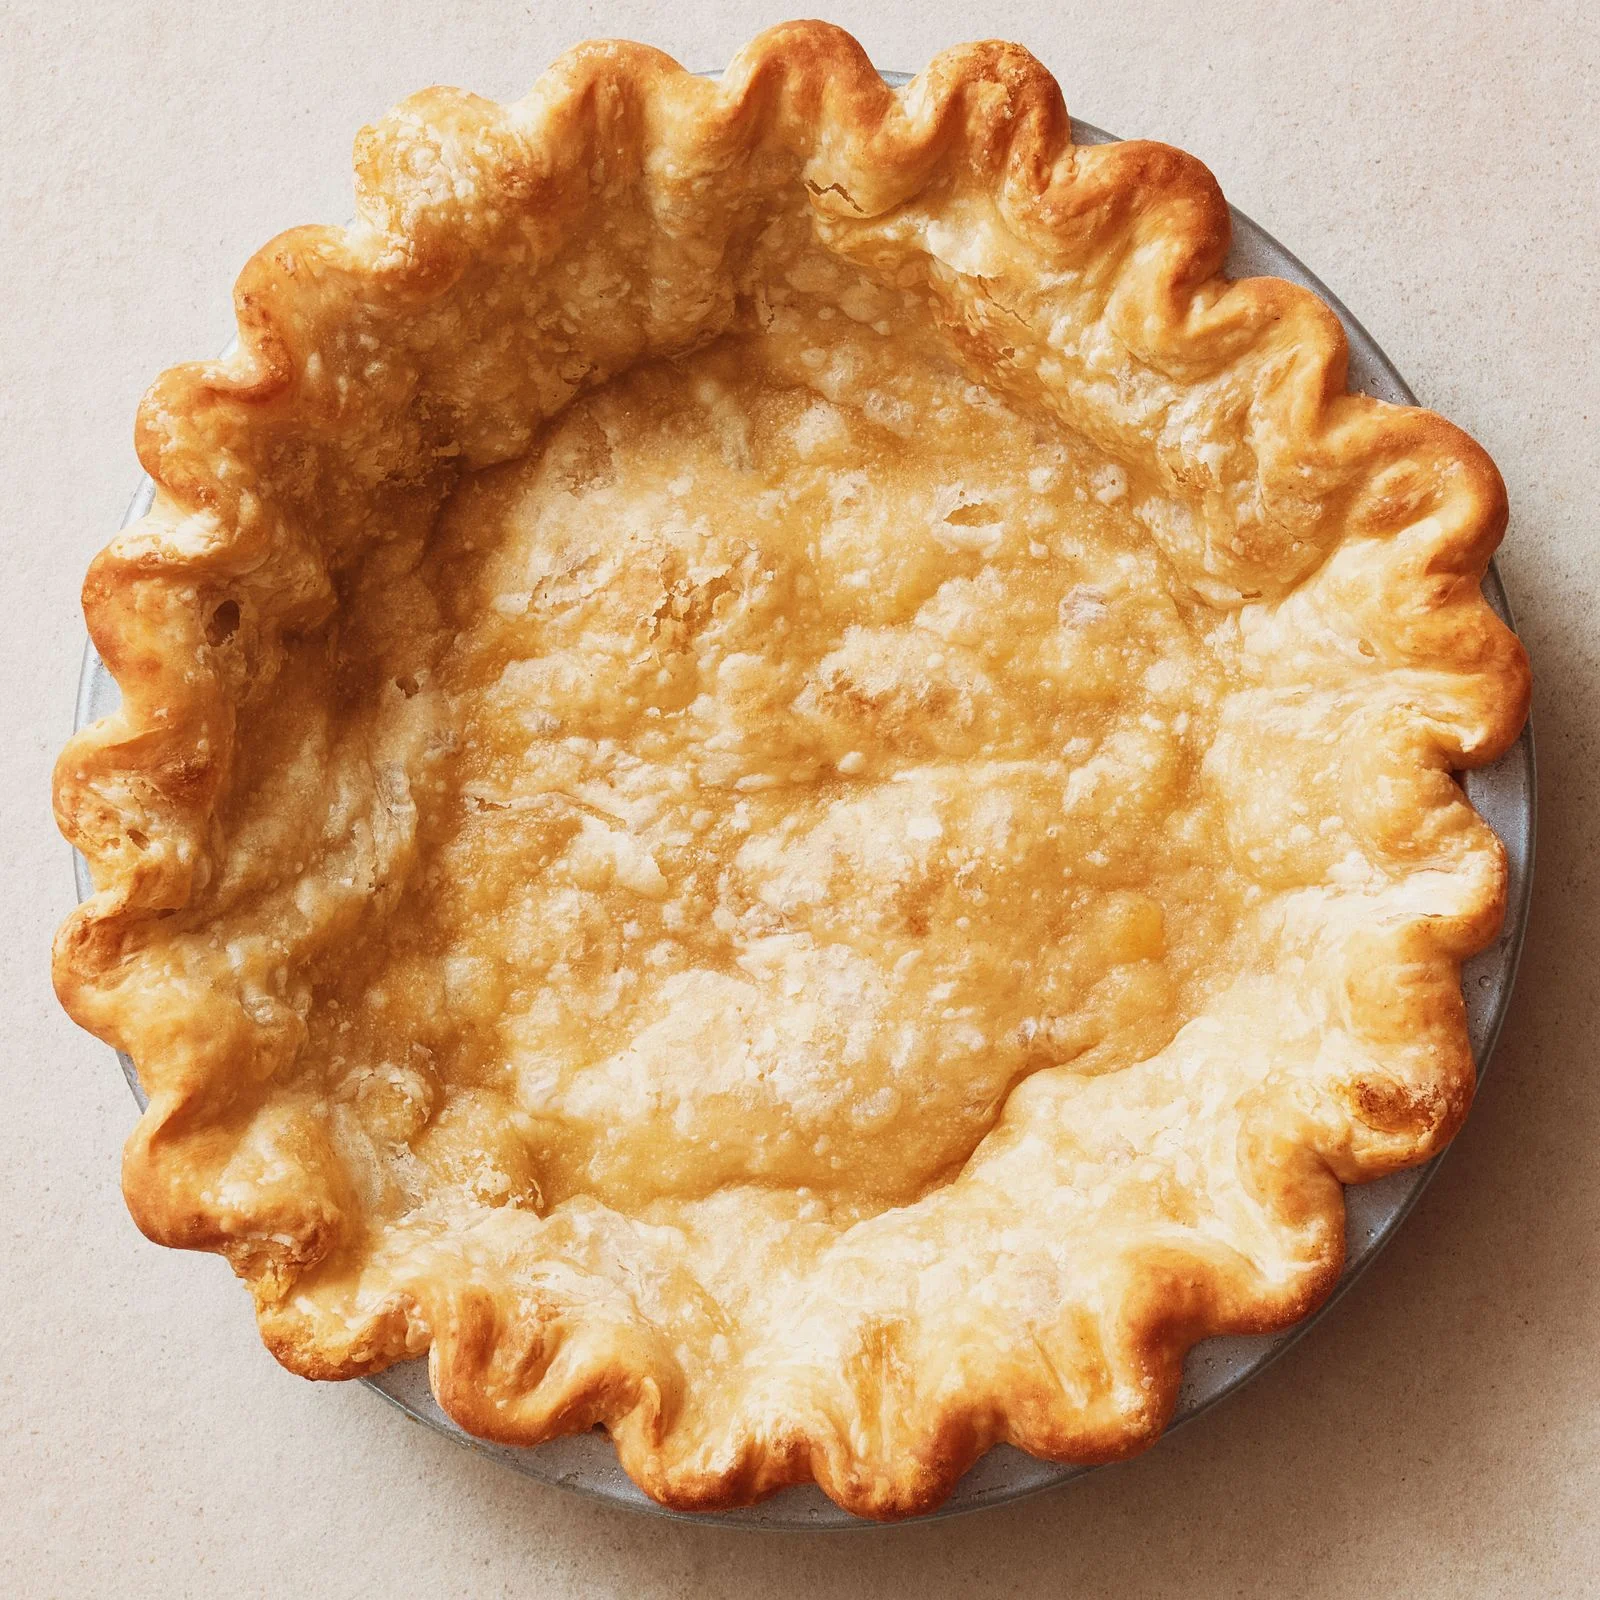
A long-baking fruit pie may need a pale shell at the start. For a single-crust pie with crumble topping, such as Blueberry Crumble Pie, the crust can continue browning as the fruit juices thicken. “Pale” still means baked: the bottom should be opaque and set, with a few light-golden patches. The crimped edge may already be darker.
Don’t apply that rule to every fruit pie. Peach-Blueberry Pie calls for a well-browned shell, while many double-crust fruit pies need no blind baking. Custards can also start with a lightly baked crust if they’ll spend a long time in the oven; BA’s Best Pumpkin Pie bakes for at least another hour after the partially baked shell is filled. The aim is a head start, without burning the edges before the filling is done.
Golden: for pies that need a head start
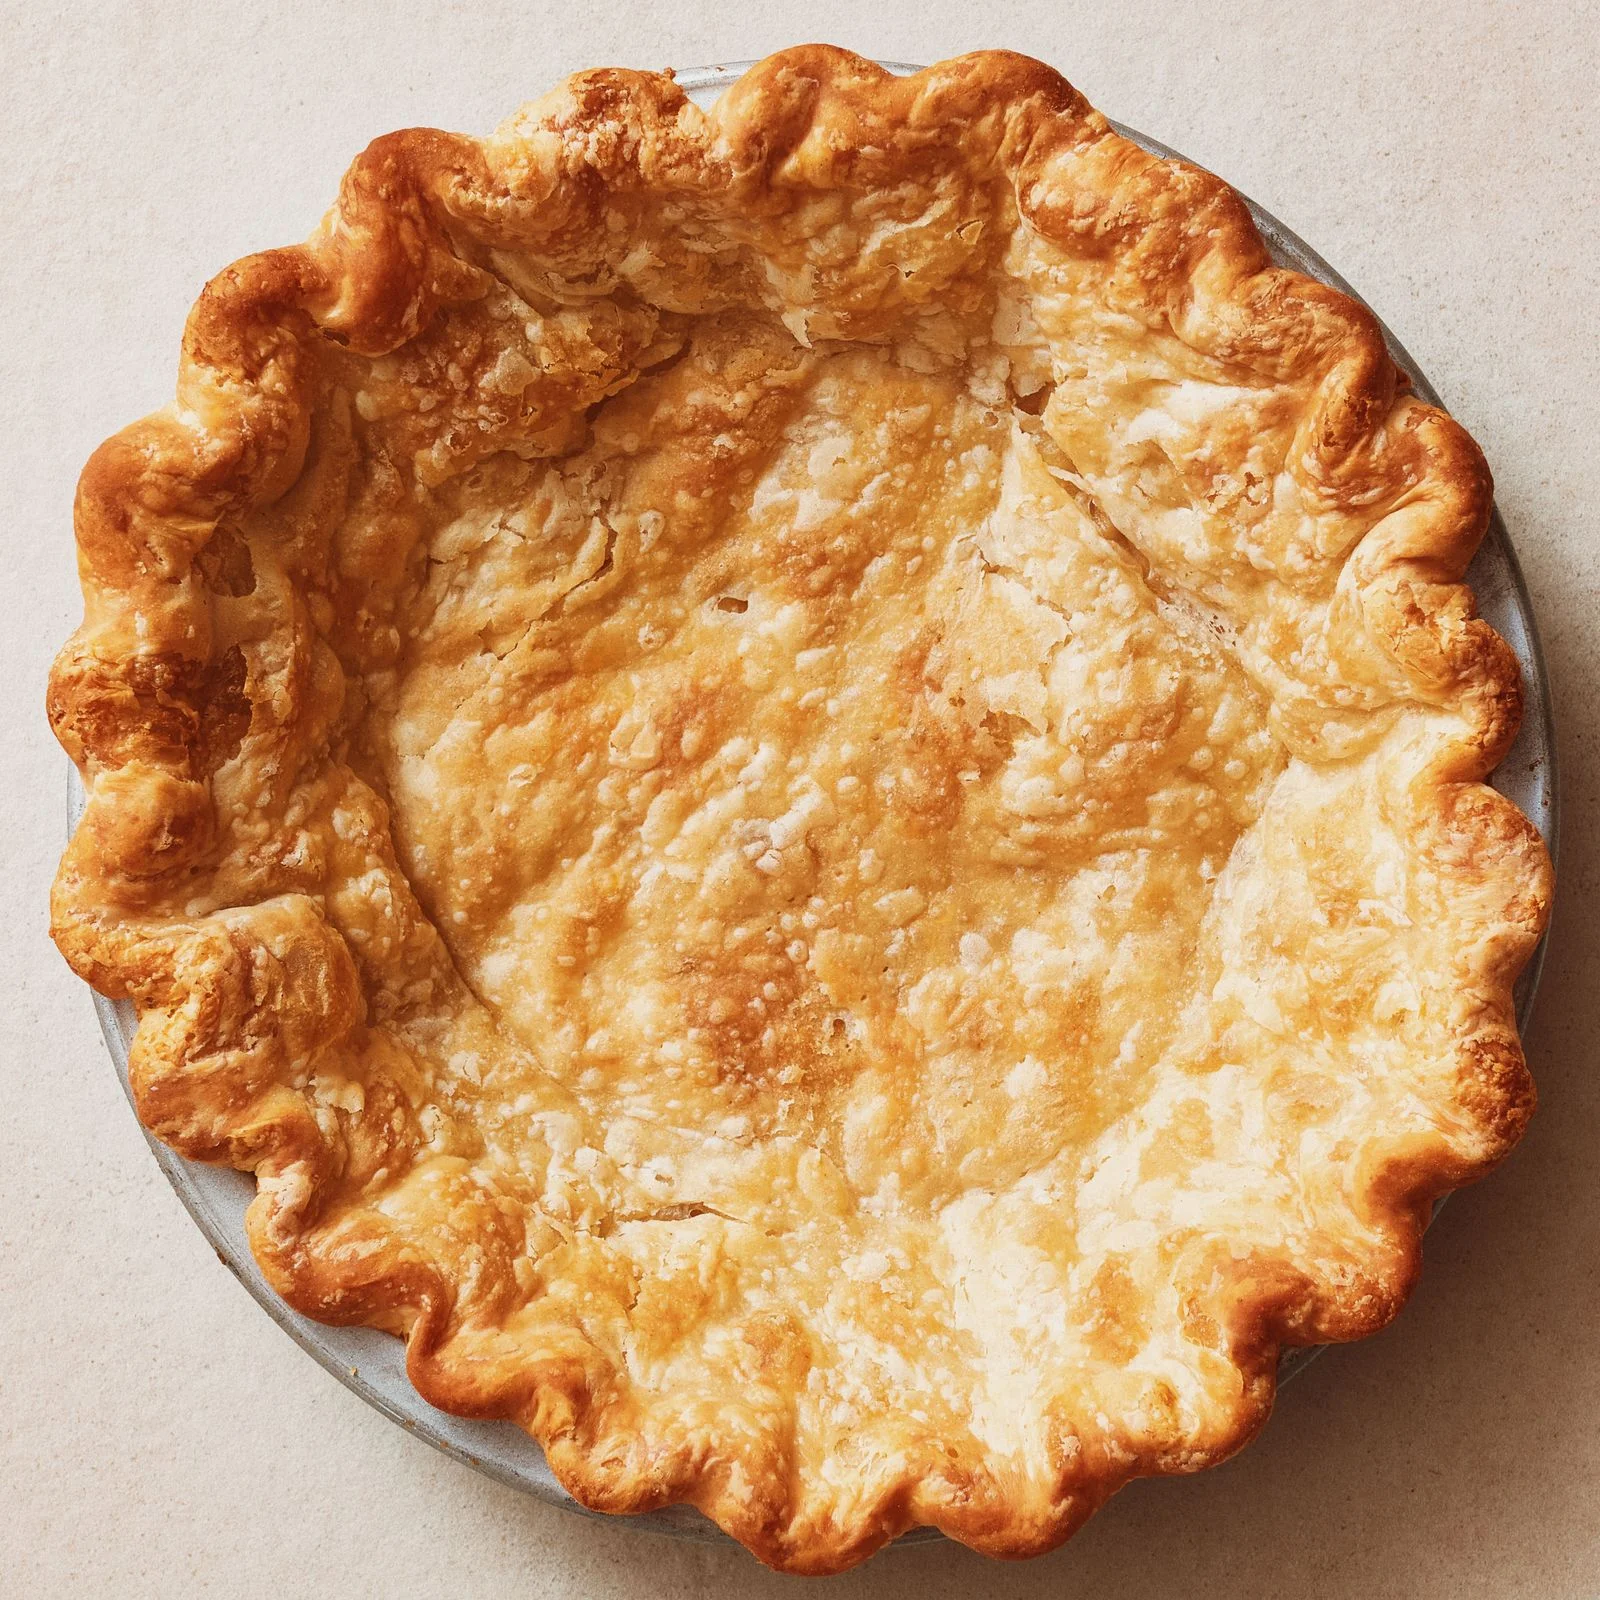
Some custard pies bake for less time than fruit pies. A golden shell gives the pastry more time to brown before the filling sets. For chess pie or Lemon Buttermilk Pie, look for an evenly golden bottom without pale, translucent patches, plus color along the sides. The rim will usually be darker.
The Perfect Pie Crust method reaches this stage by baking the weighted shell until the edges turn golden, then removing the weights and continuing until the bottom and sides brown evenly. Some pies need an even longer bake before filling: Bourbon-Date Pecan Pie calls for a dry, golden crust before its filling bakes for another 45–55 minutes. The useful question is how much baking remains after the filling goes in, not simply what kind of pie you’re making.
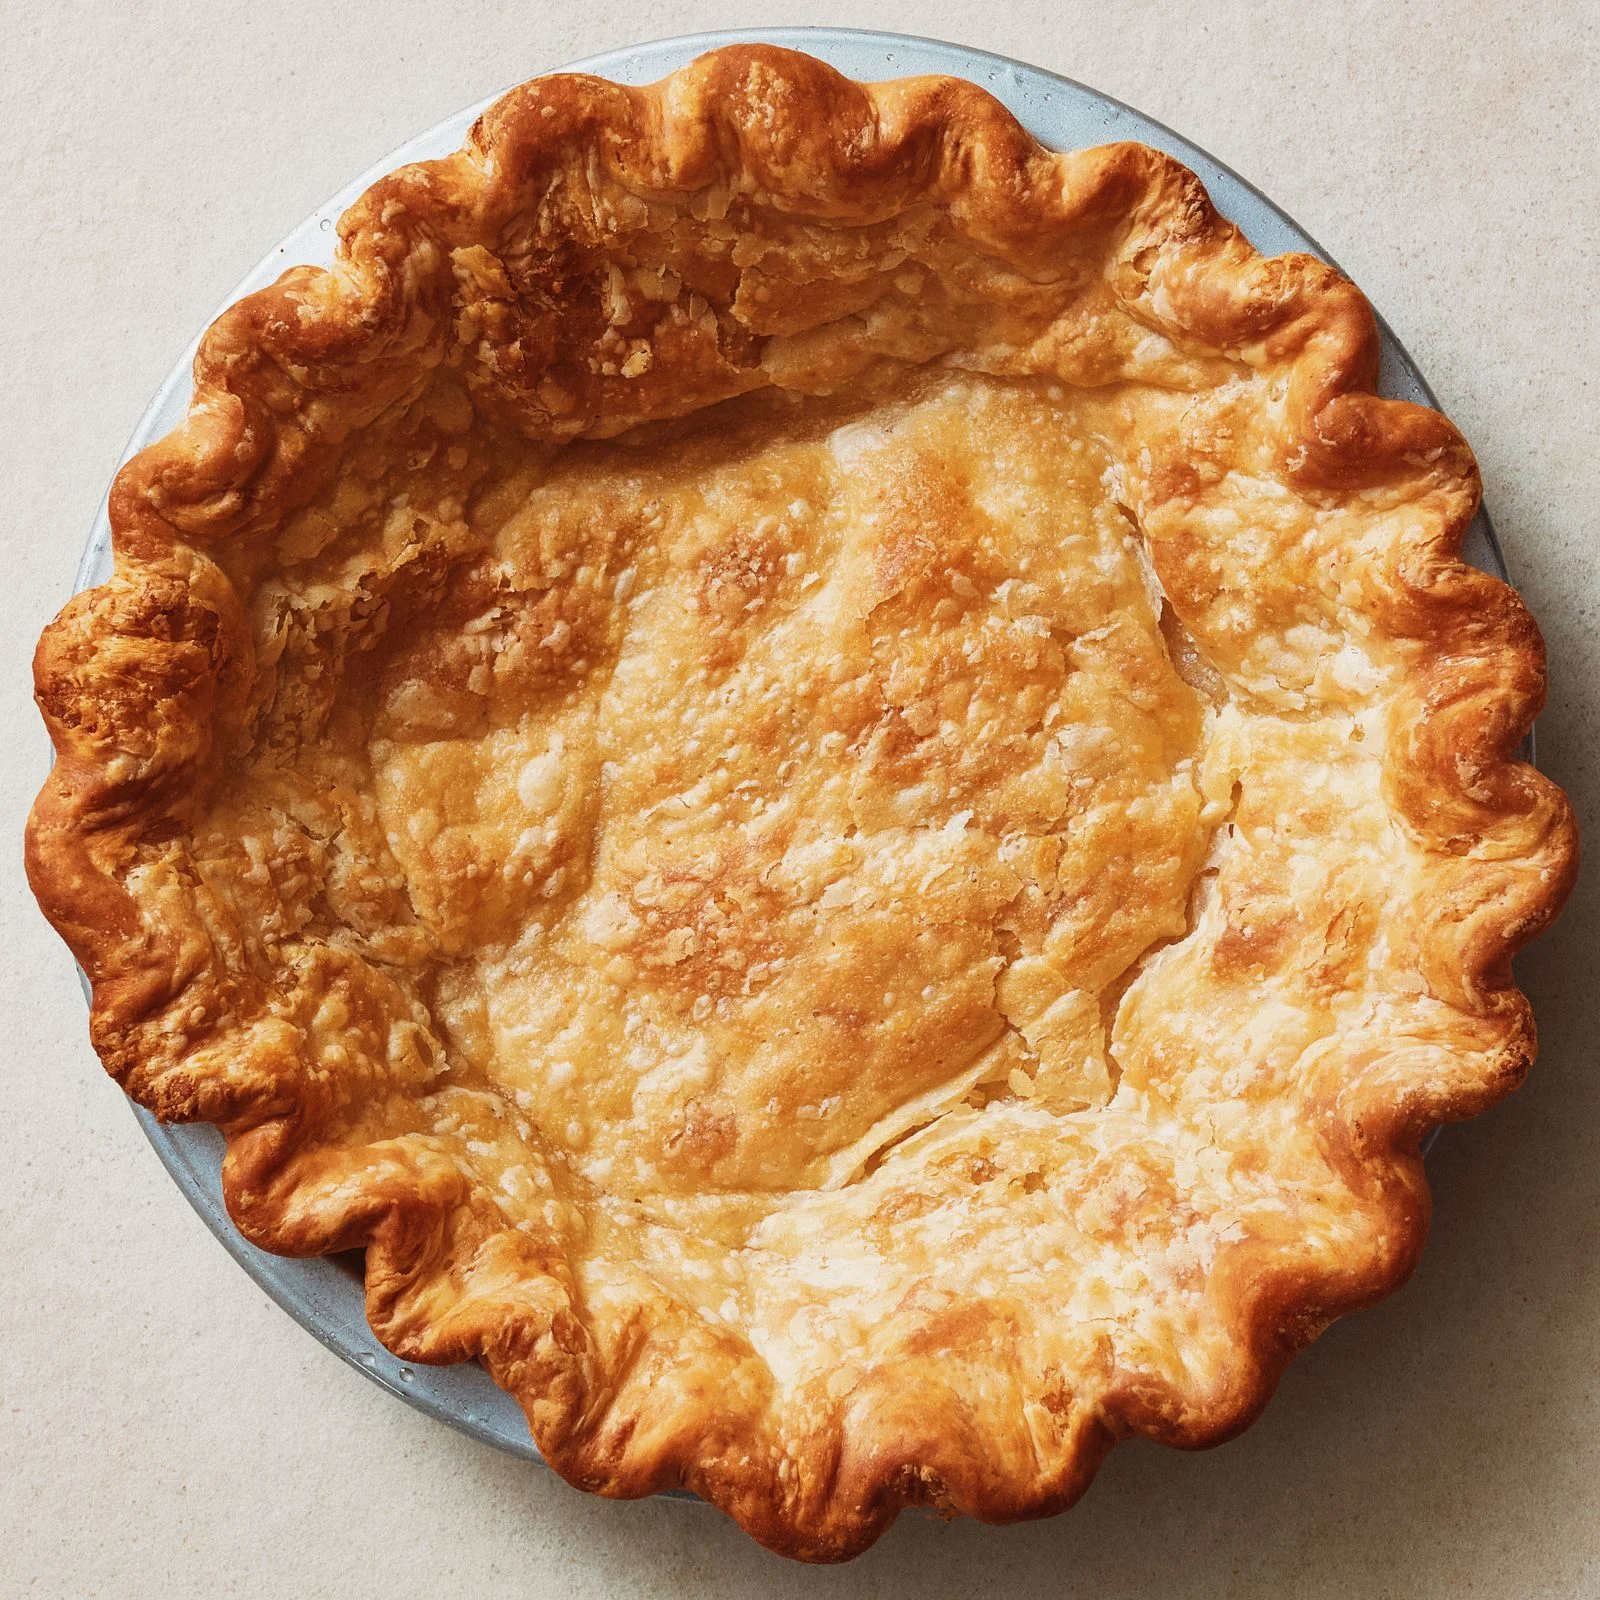
Dark: for no-bake fillings
When a pie shell will hold a filling that won’t be baked, give the pastry time to brown all the way through. A dark golden base and sides may look bold, but stopping at a pale center leaves you with a crust that can taste doughy and soften under pudding or curd. The shell should look dry and crisp, with no translucent patches.
Once you remove the pie weights, keep baking and check the crust often as it approaches full color. It may need another 15–20 minutes or more, depending on the dough and oven. Trust what you see, not the timer.
That extra browning brings a toastier flavor and helps the crust hold up to a moist filling. Cranberry Meringue Pie, for example, uses a fully baked shell before the cranberry curd goes in.
Egg wash is optional
Some recipes, including pumpkin pie, brush beaten egg over a partly baked crust, then return it to the oven briefly to set. The idea is to create a barrier between pastry and filling. It can be a helpful precaution, but bakers don’t all agree it’s necessary—and if your recipe doesn’t ask for it, you can skip the step.