How to Make Better Pie, According to Pastry Chef Melissa Weller
Good pie depends on a handful of small decisions. Cold butter, restrained mixing, a proper rest, and enough time in the oven can make the difference between a sturdy, flaky crust and a disappointing one. Those details are easy to miss in a recipe—and they’re often what experienced bakers learn by doing.
Pastry chef Melissa Weller shares the techniques she uses for pies that look polished and taste good, from mixing and rolling dough to crimping the edge and judging when the filling is done. Her advice also appears in this guide to homemade pie crust and her book A Good Bake, written with Carolyn Carreno.

A Good Bake by Melissa Weller with Carolyn Carreno is listed for $38 at Amazon and Bookshop, reduced from $40.
How to make flaky pie crust
Start with great pie dough.
Choose a dough that suits the pie
A pie crust’s texture starts with the kind of dough you make. My usual choice is pâte brisée: “brisée” means “broken,” a reference to butter rubbed into flour. Those butter pieces create the layers that bake up flaky. For a sweeter, more cookie-like shell, pâte sucrée uses sugar and egg, with butter and sugar creamed together.Plan ahead
Resting time is part of the recipe. Bakeries often make dough days before they need it; at home, that head start gives the dough time to chill and makes it ready to roll when you are. You can also freeze pie dough for up to one month. Wrap it well and thaw it overnight in the refrigerator.Pick your fat
Pie dough needs flour, water, salt, fat, and sometimes a little sugar. Many traditional American recipes use lard, rendered pork fat that can produce an especially flaky crust. I like lard, but good-quality lard can be hard to find. For my pies and tarts, I use unsalted butter. Handle it well and you can get a flaky crust with the buttery flavor, too.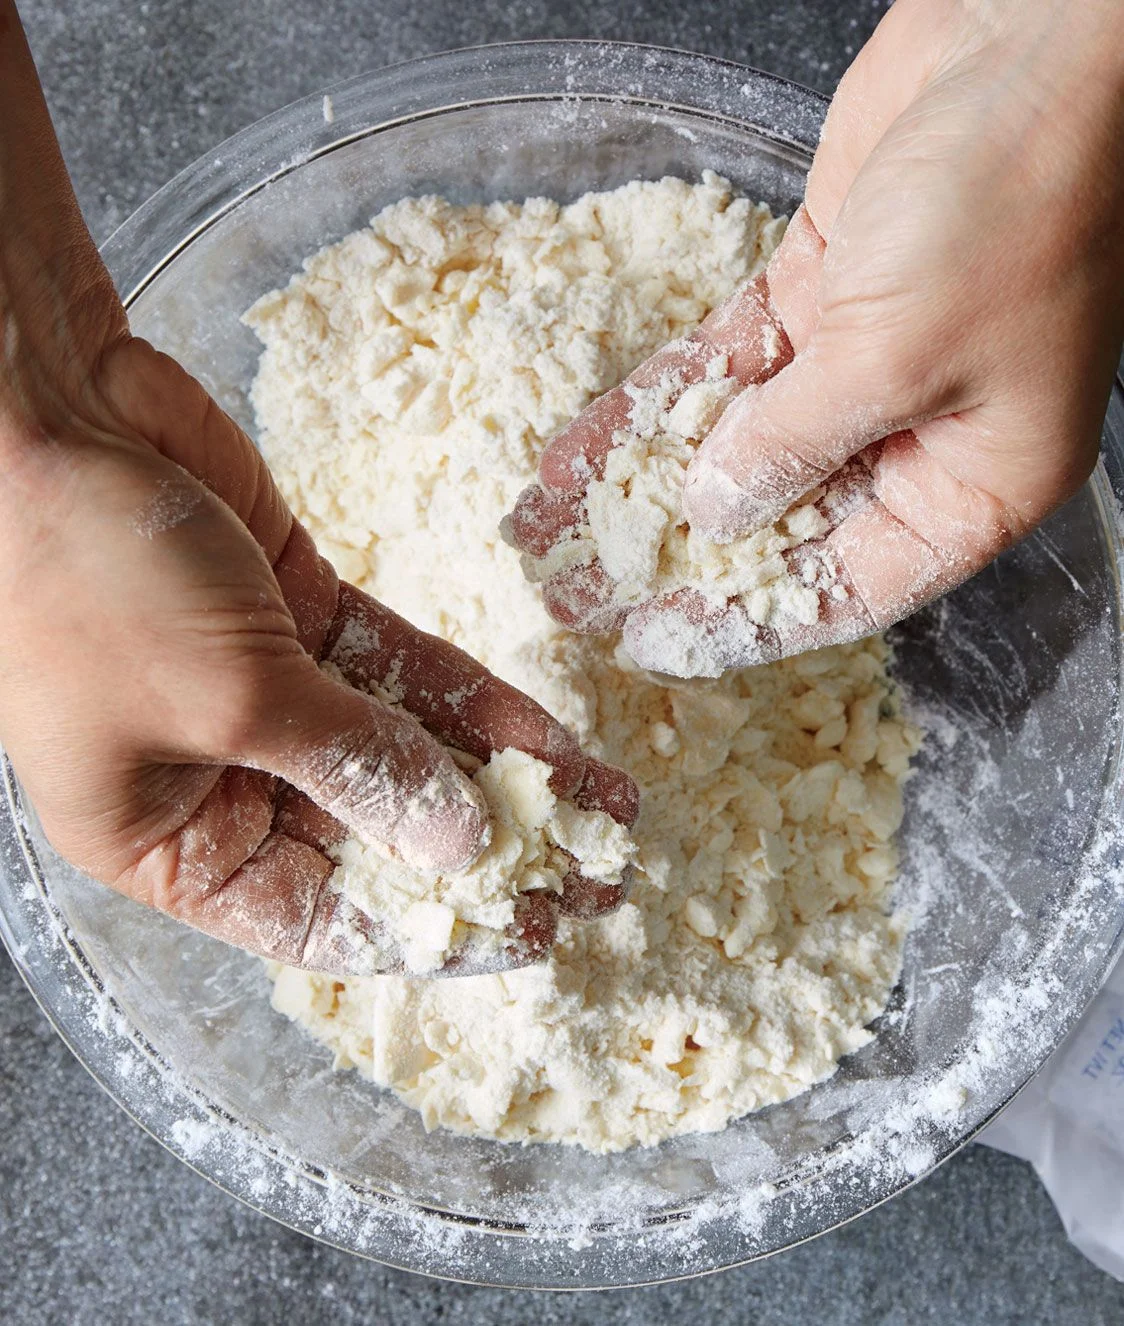
Keep the butter cold and in pieces
Many pie recipes recommend cutting butter into ¼-inch cubes. I prefer pieces closer to ½ inch. Spread them on a plate and freeze for 10 minutes: they should be very cold, but not rock-hard. Those larger pieces matter. Some stay intact as you mix and roll, leaving streaks of butter through the dough. In the oven, the butter’s water turns to steam and helps form thin, flaky layers. Want even more flake? See our guide to laminating pie dough →Add cold water, then stop mixing early
Refrigerator-cold water works for me; you don’t need to fetch ice water, though extra-chilled water is fine. Add it only after combining the flour and butter. Once water meets flour, gluten begins to develop. Too much gluten can leave the crust dense and tough. Coating flour with cold butter first slows that interaction. Don’t aim for a smooth, uniform dough like cookie dough. Stop when it just starts to come together. The mixture should still look shaggy, with visible butter chunks and some crumbly bits; those dry patches will absorb moisture as the dough rests.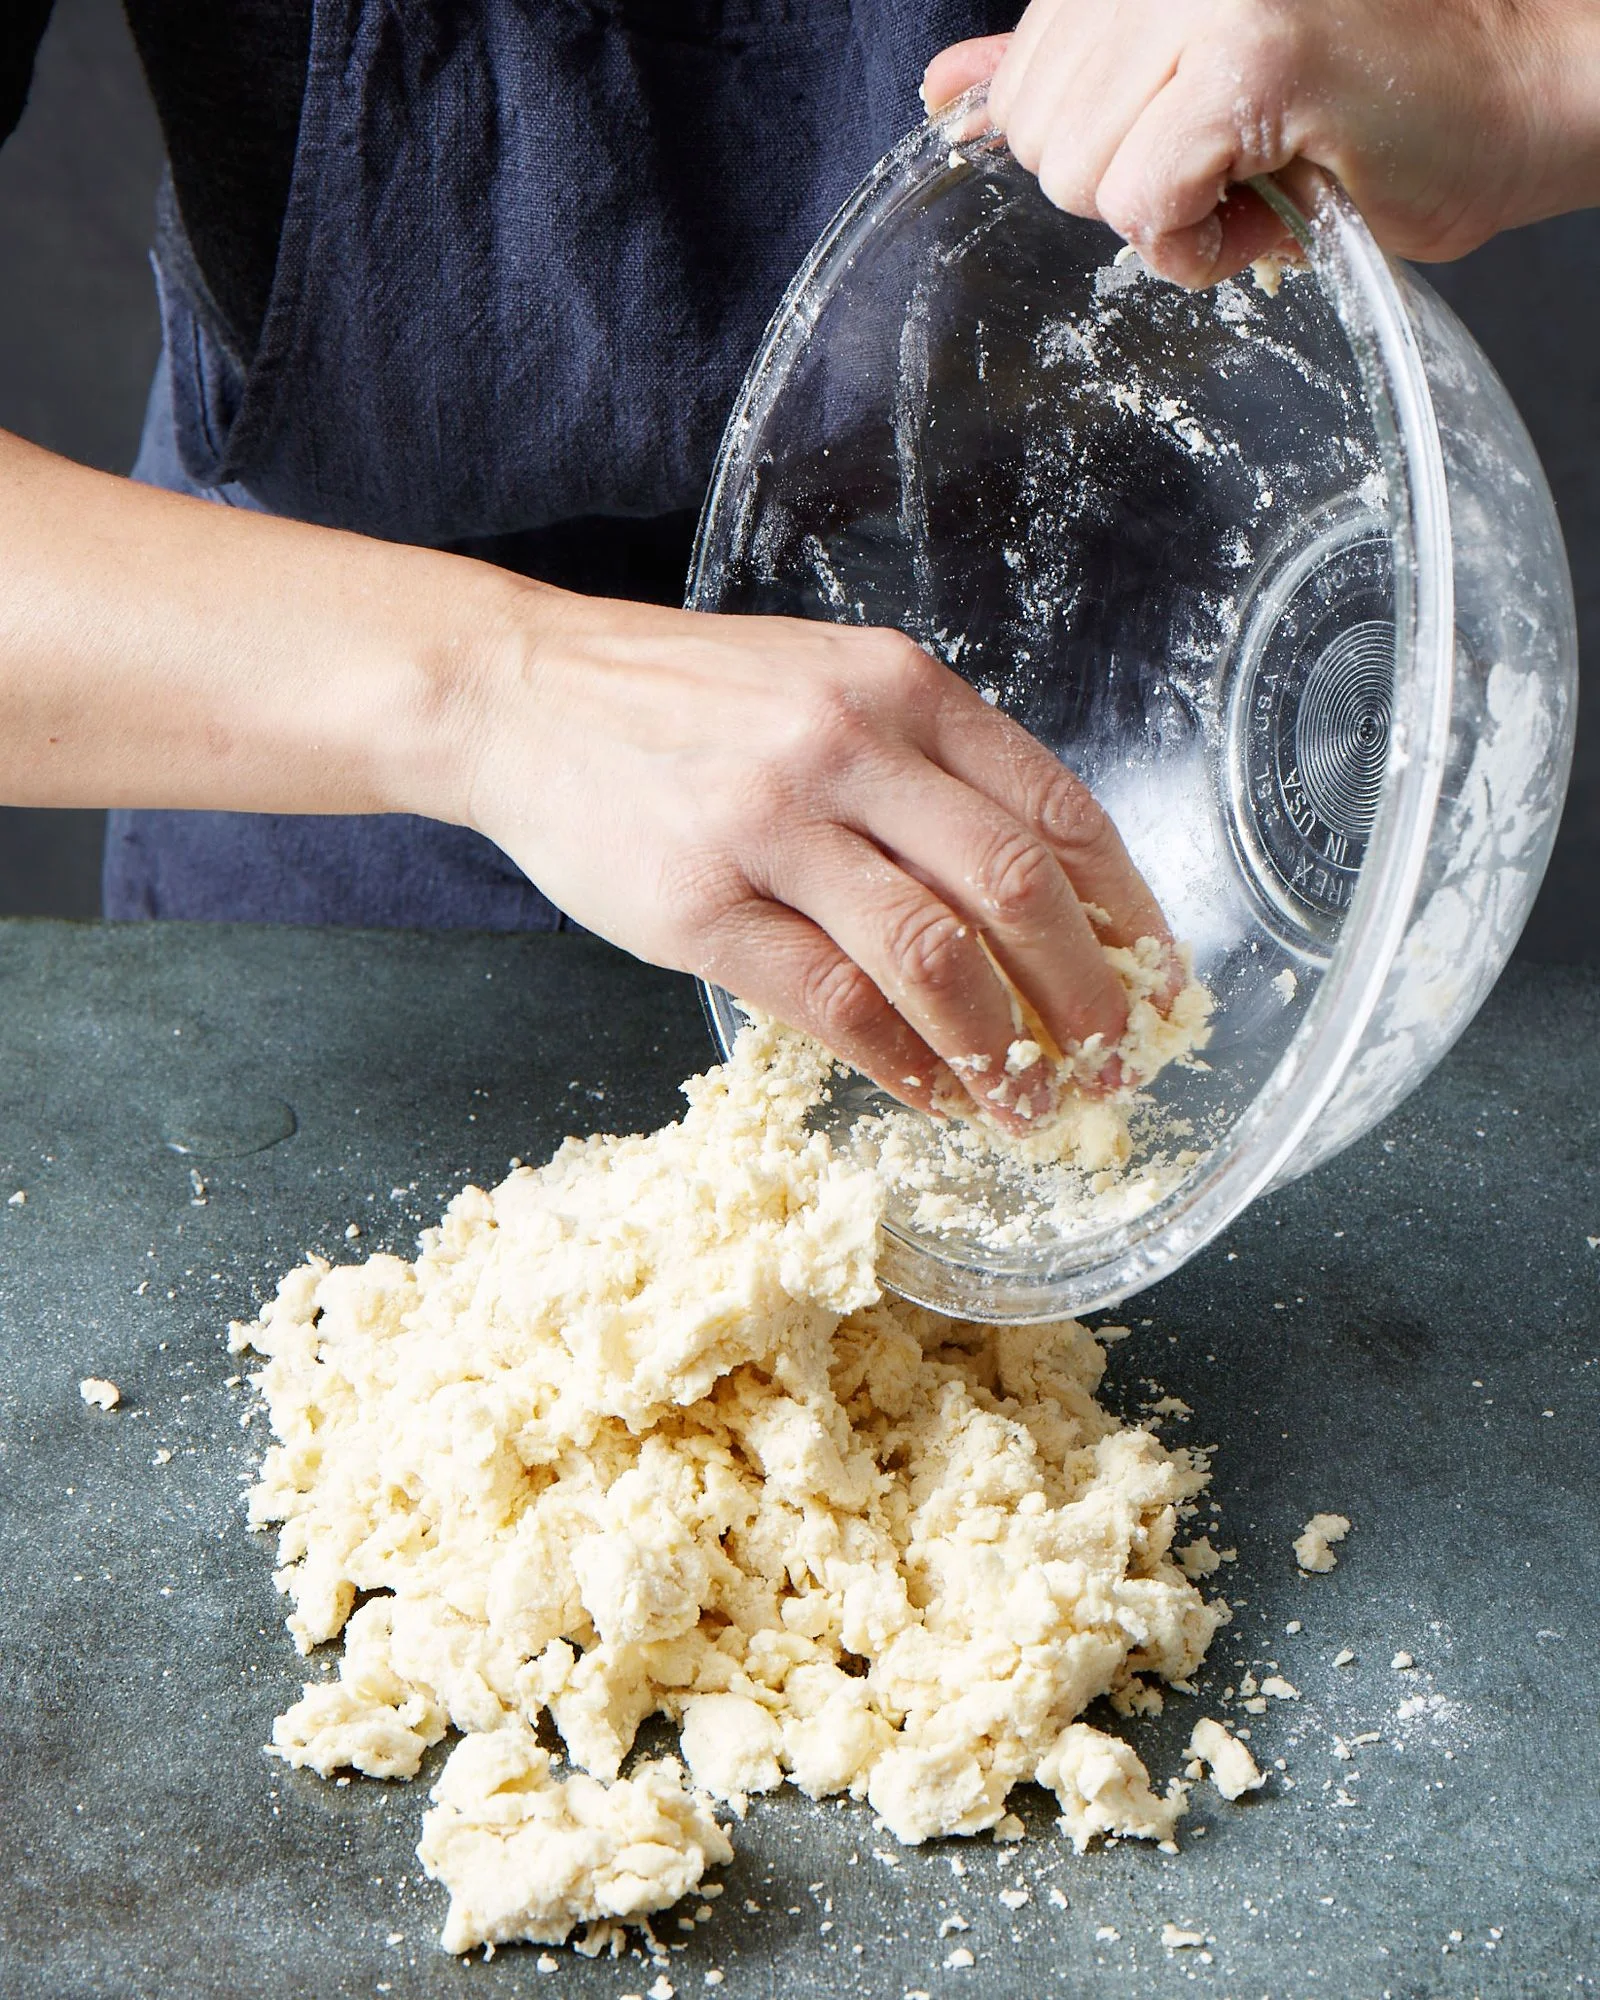
Rest before rolling
Shape the dough into a disk or a brick to match how you plan to roll it. Wrap it, press it flatter with a rolling pin, and refrigerate. Resting gives the flour time to take up moisture and relaxes the gluten, so the dough rolls more easily and is less likely to shrink in the oven. Warm kitchens call for quicker handling and longer chills. If the dough turns soft or tacky, put it back in the refrigerator. Chilling the bowl, bench scraper, and rolling pin before you begin can help, too.How to roll out pie crust
Work quickly, but let the dough soften slightly
Take the dough from the refrigerator and wait 10 to 15 minutes, until it’s pliable but still firm. Too cold, and it may crack; too warm, and it can stick. While it rests, clear your counter and gather a rolling pin, plus any tools the recipe calls for: a bench knife, cutter, straightedge, pastry wheel, or knife. Have flour—or sometimes sugar—for dusting, and prepare the pie plate or parchment-lined baking sheet so the rolled dough can go straight to assembly. Once you start, keep moving. Friction and warm hands soften dough fast; rolling should take a minute or two.How to shape and crimp pie crust
Butter the plate and transfer the dough gently
I butter the bottom and sloped sides of the pie plate before lining it. It helps the crust stay put while I shape it and can make the baked pie easier to remove. A visible coating is enough; cold butter works, though slightly softened butter is fine. For a round pie plate, fold the dough in half and lift it into the pan. For a larger sheet, such as one for a jelly roll pan, roll it around your pin and carry it over. Either way, center the dough above the dish, lower it gently, then unfold or unroll it.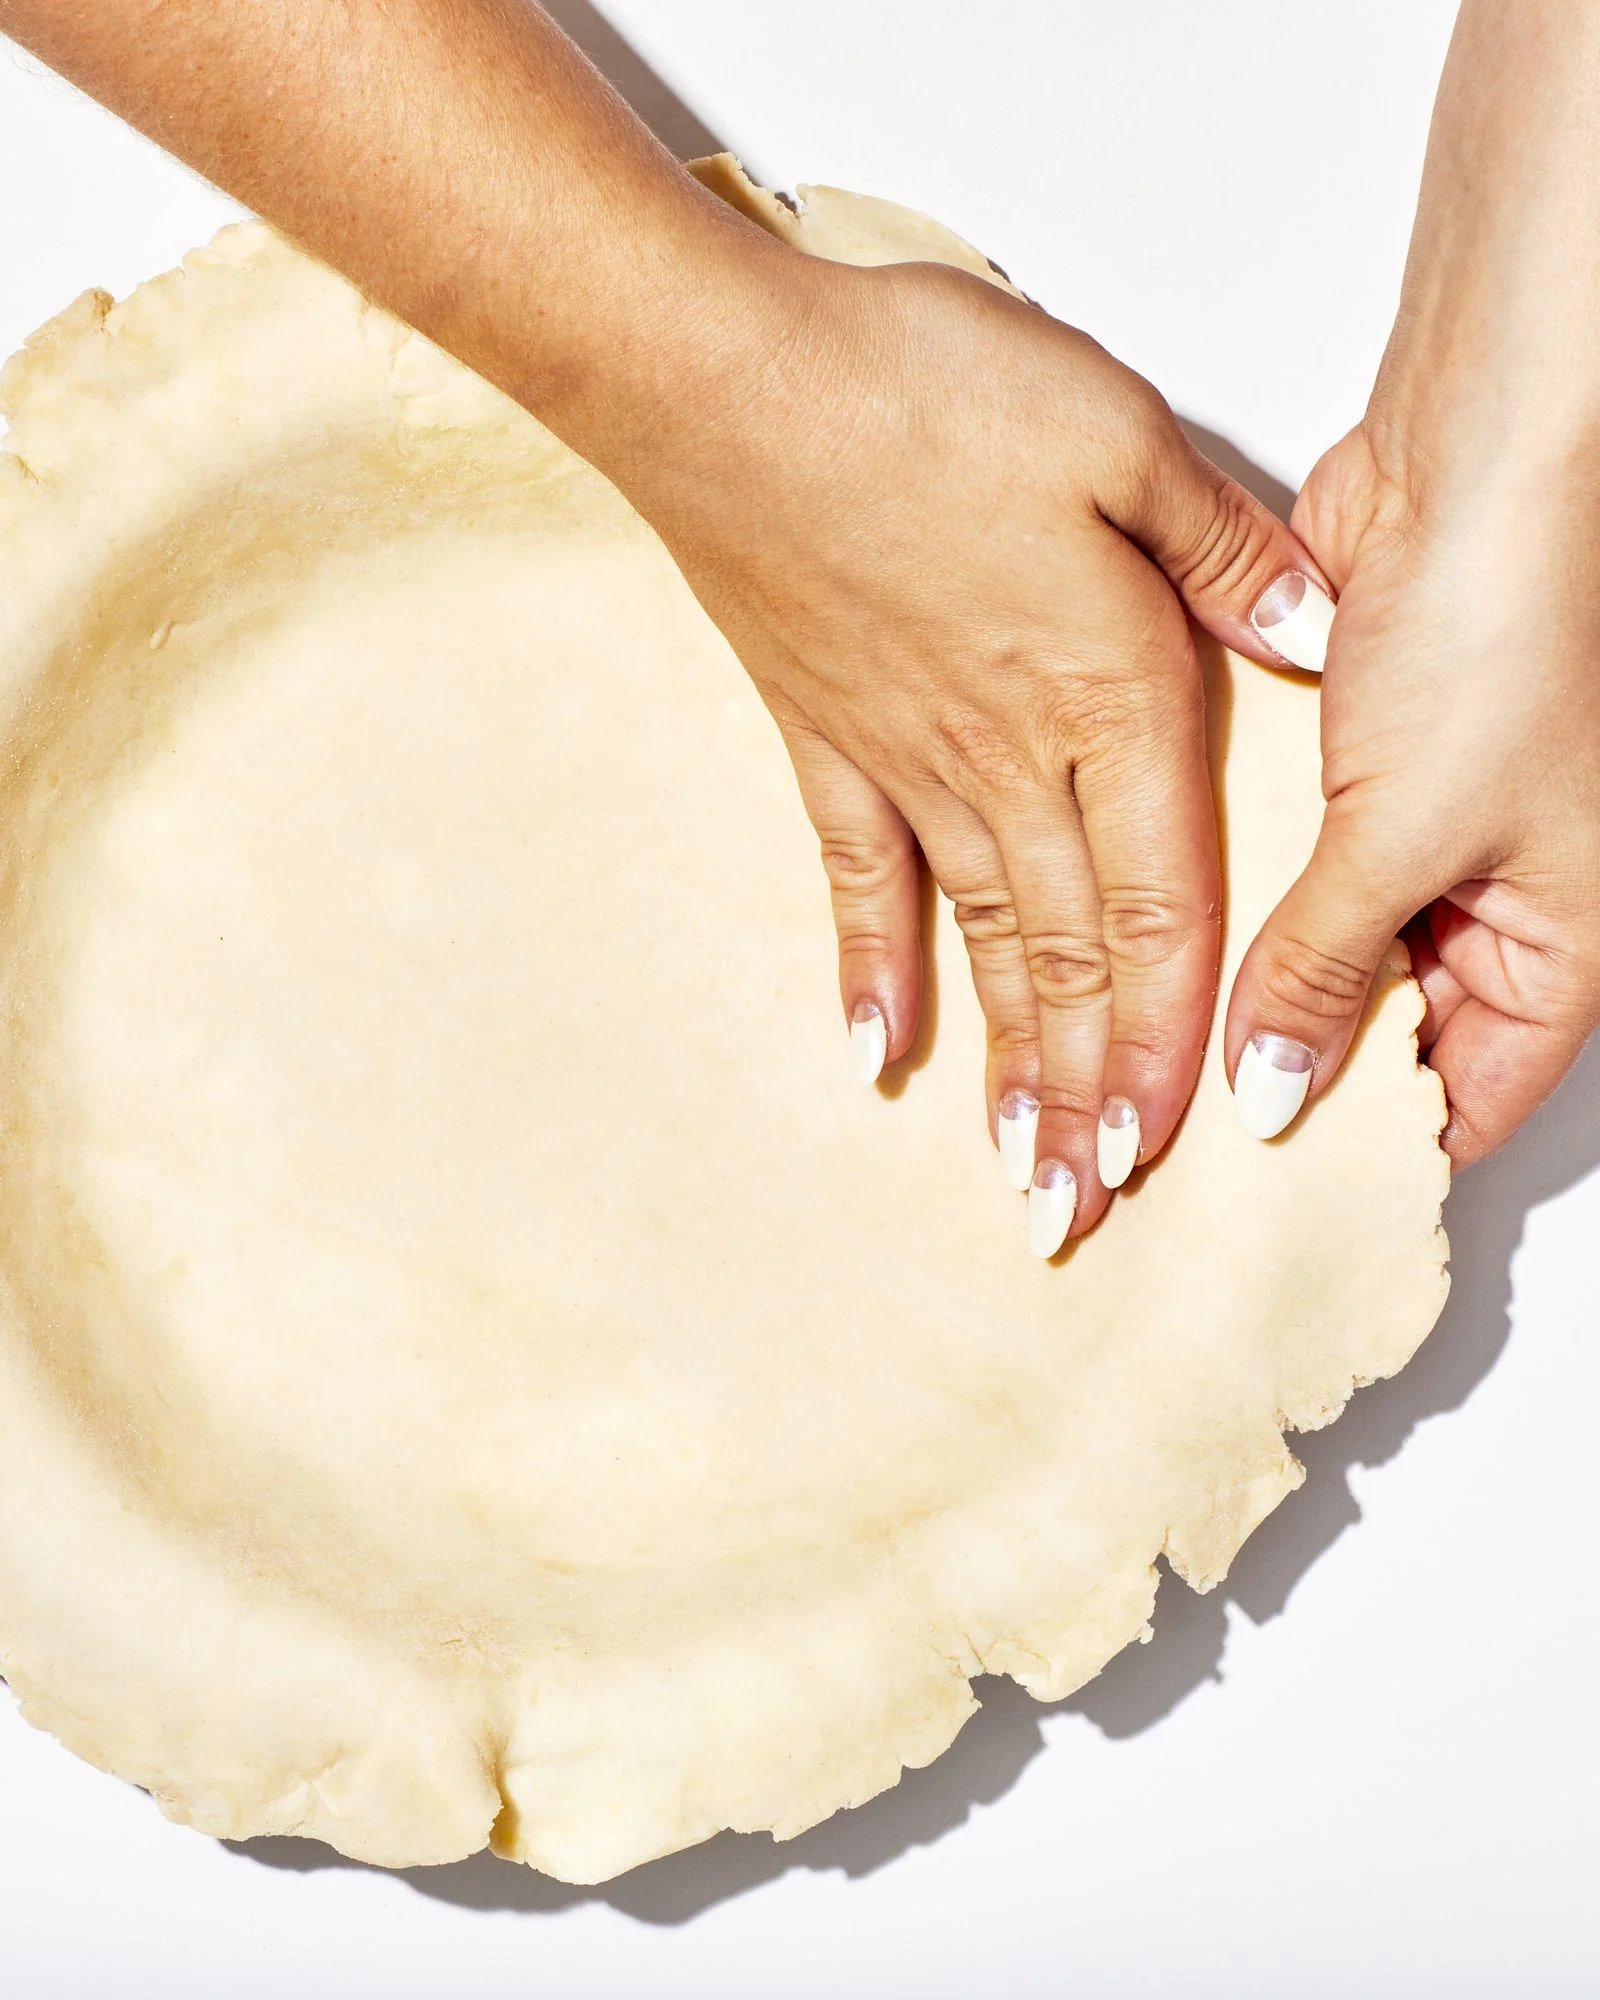
Fit, trim, and crimp
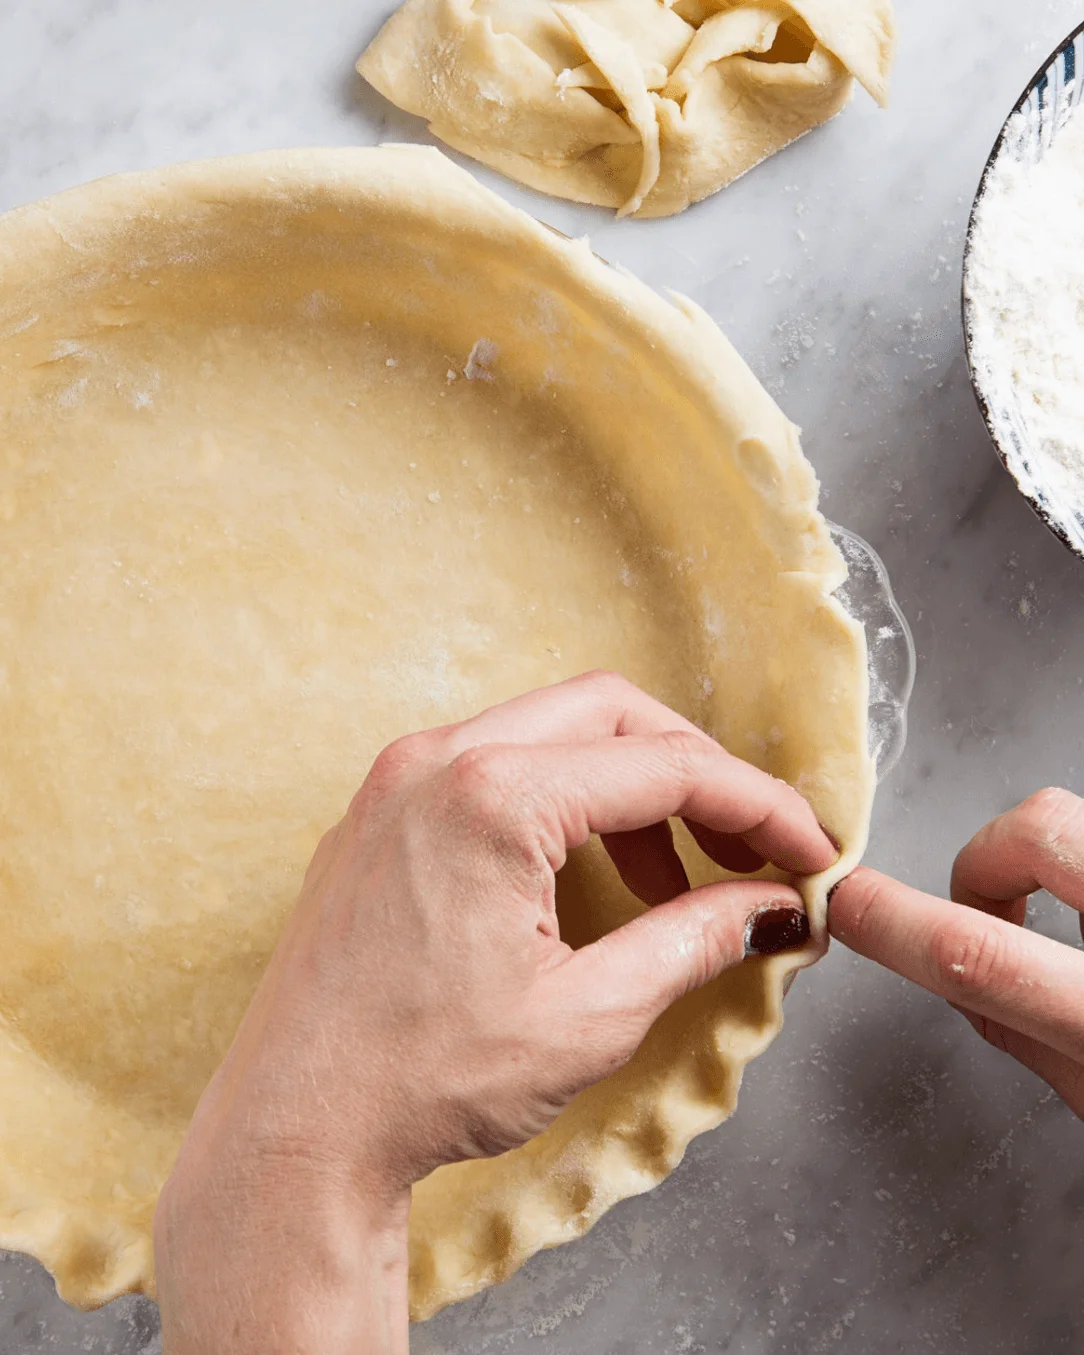
Lift one edge at a time and press the dough into the pan’s bottom and sides. Don’t pull it to make it fit: stretched dough can snap back in the oven and leave thin spots. Press it lightly onto the rim and check that the overhang is even. Trim the bottom crust with kitchen shears, leaving about 1 inch beyond the edge. Save the scraps by pressing them into a disk and refrigerating or freezing them for another pie. For a double-crust pie or a lattice-topped pie, trim the top crust or lattice flush with the pan’s outside edge. To crimp, roll the overhang toward the center until it forms a thick ridge on the rim. I fold the dough up and over itself, rather than under; when you’re done, no dough should hang over the edge. For a double crust, roll the bottom edge over the top crust to seal the filling in. Shape the ridge into an even curve, then pinch around the edge with your fingers to form a repeating V or U.